Why a Winter Roof Replacement Might Be Right for You
November 14, 2024
Unravel the Mystery: How to Confidently Find a Roof Leak
December 20, 2024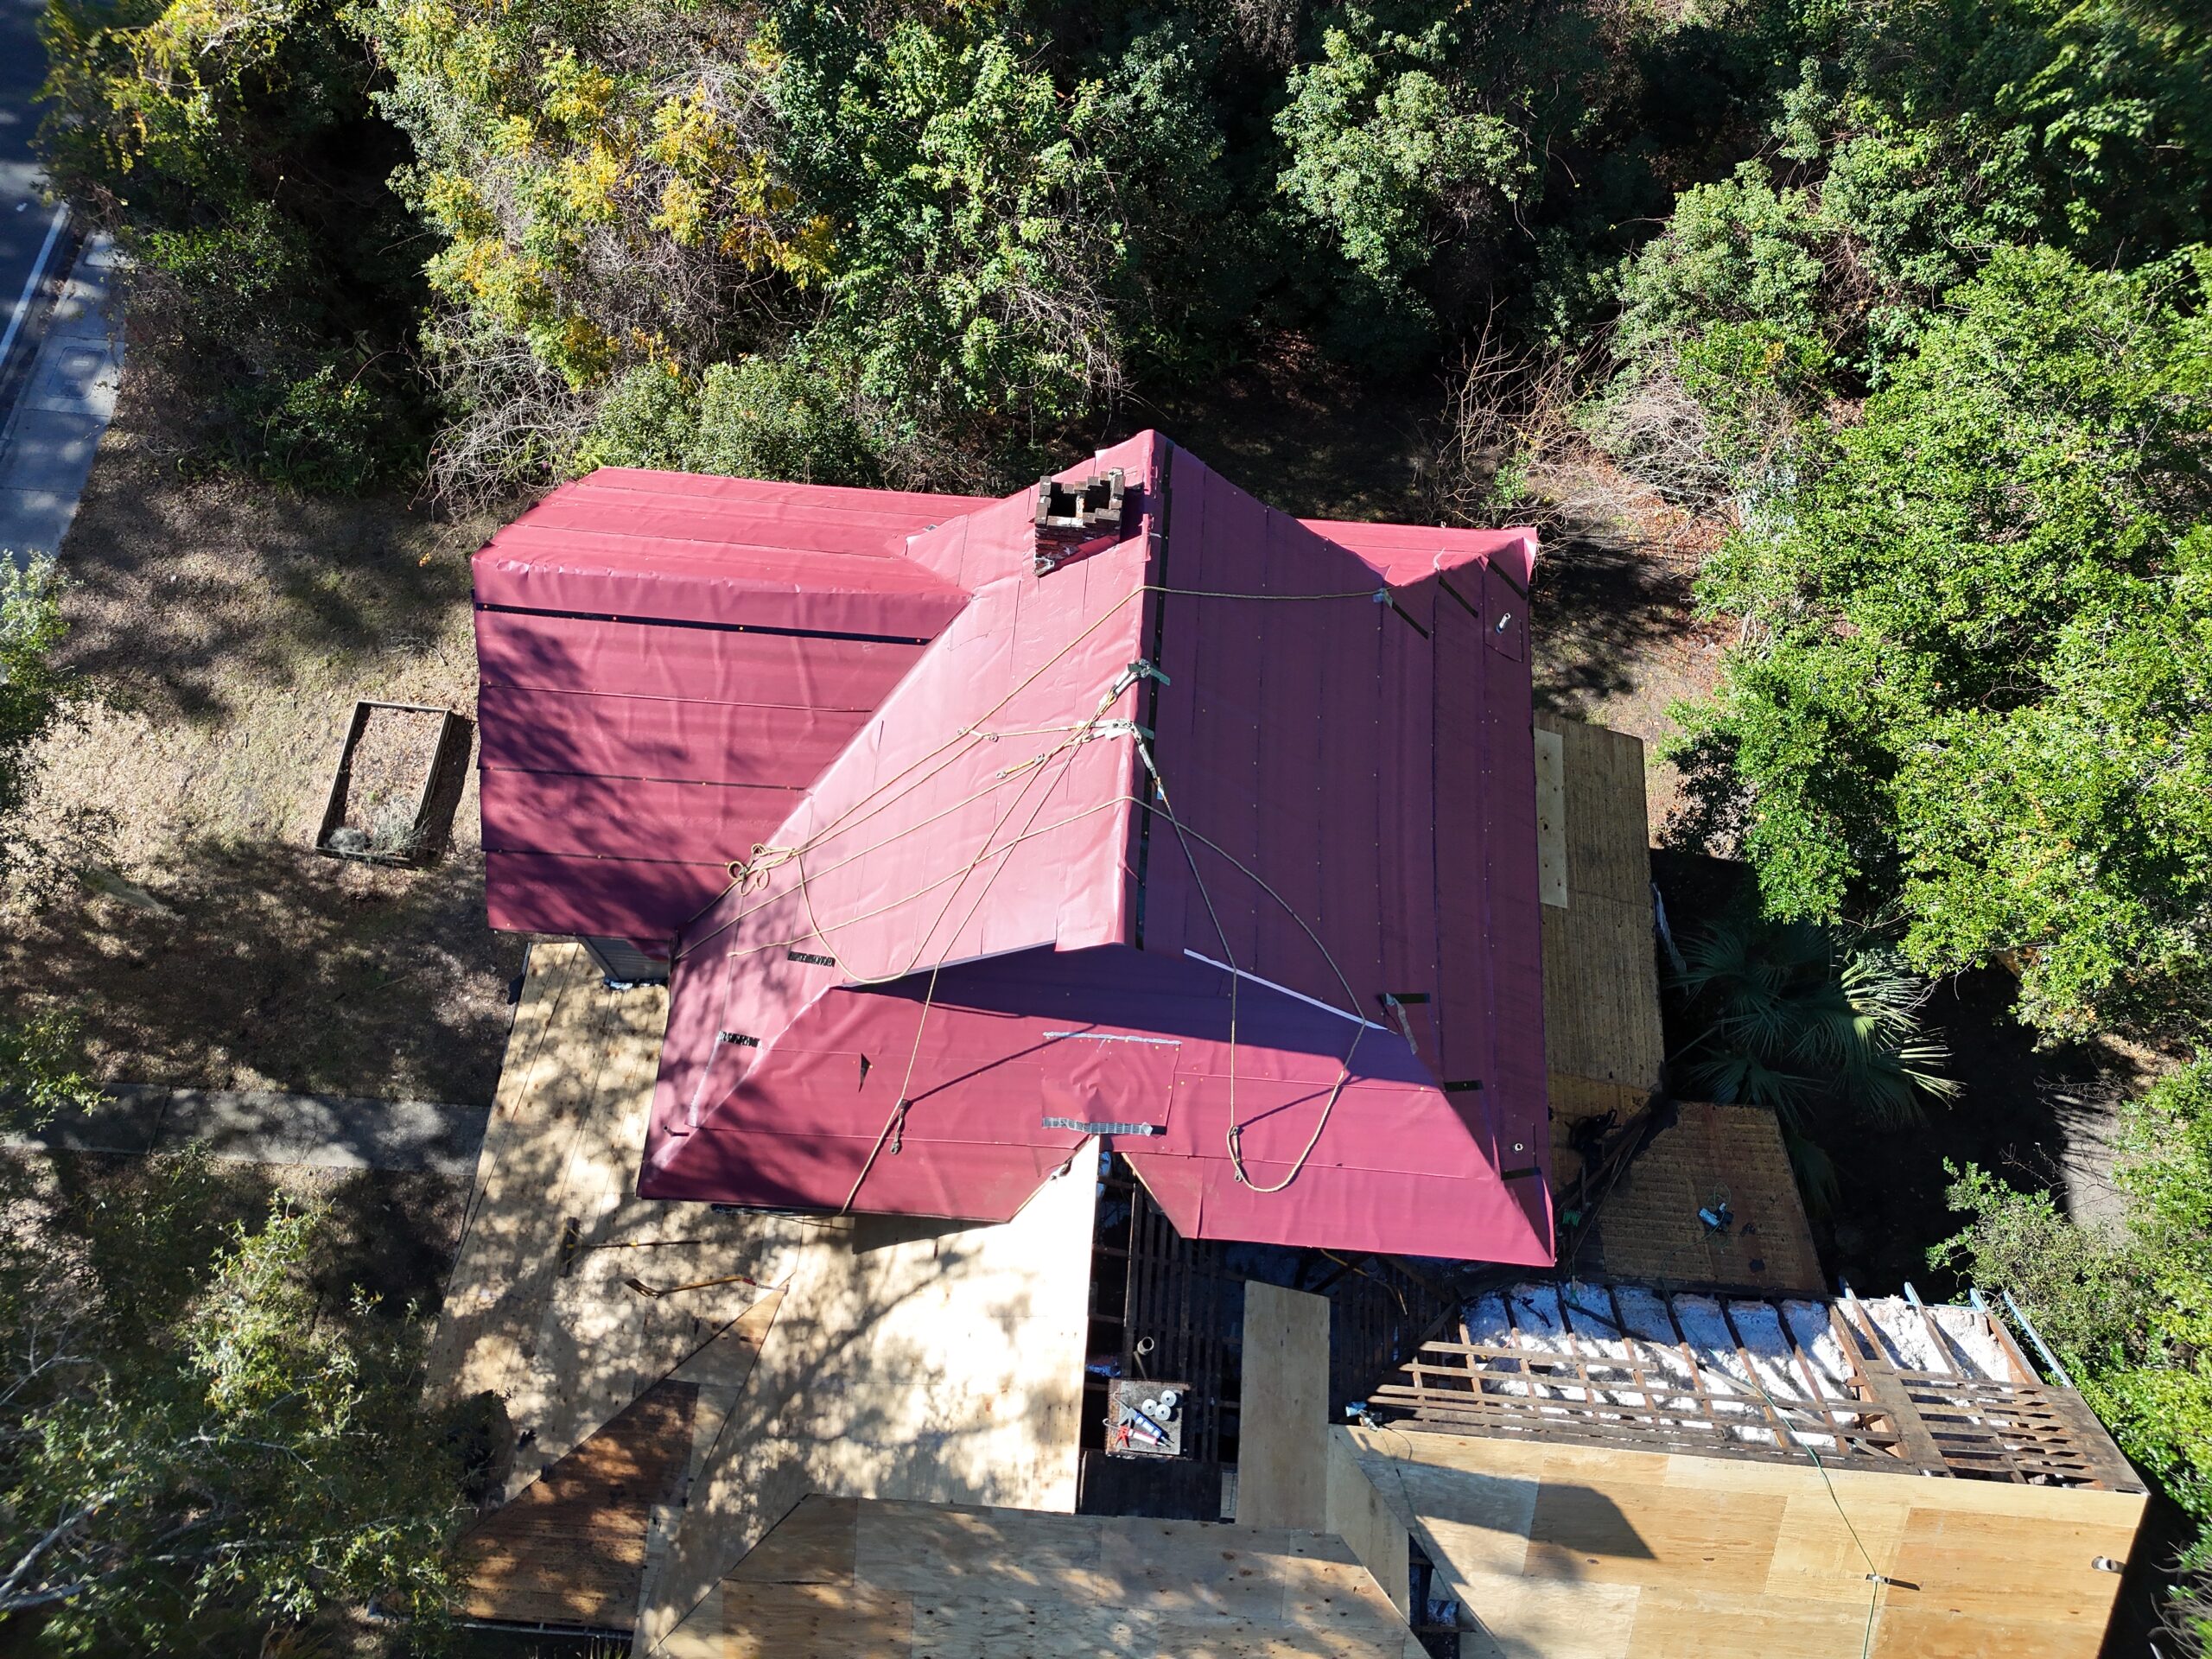
Roof Leaks: Quick Fixes
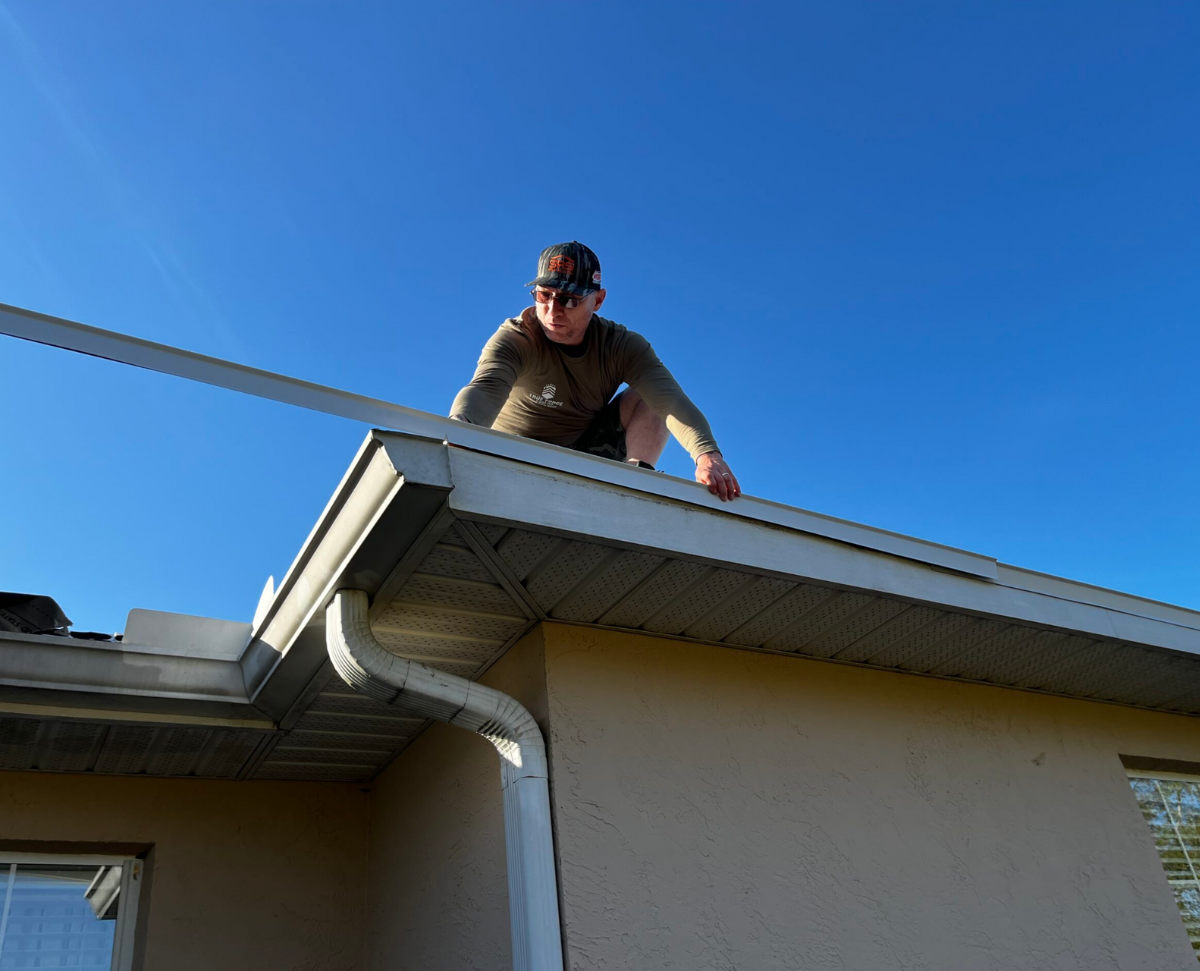
So, you've spotted a roof leak. Yikes! Time to roll up your sleeves and get moving before that drip-drip gets any worse.
We’ll walk you through how to spot the problem, why ignoring it is a bad idea, and how to patch things up safely.
Spotting a Roof Leak
Hunting down a roof leak isn't always straightforward, especially if you can't spot it right away. So what's the giveaway? Look for water stains, moldy spots, funky smells, or that annoying drip from the ceiling. If you think there's trouble up top but can't quite pinpoint it, snoop around in the attic or crawl spaces. That's often where the trouble starts.
What Happens if You Ignore the Drip
A little leak may seem harmless, but ignoring it is a gamble you don't want to take. Water sneaking through can mess up your insulation, mess with your house’s bones, invite mold to the party, and create a real shock hazard with all your wiring. Plus, a tiny trickle today could turn into a major wallet buster tomorrow.
Don’t brush it off if you spot signs like these.
Safety First: What to Do Before Fixing
Ready to tackle that leak? Hold your horses! Before diving in, clear out the stuff below the leak—protect your gadgets and goodies from getting soaked. And if you're planning to climb up top, remember wet roofs are slick. So, move carefully, okay?
Better be safe than sorry: slip on some gloves, grippy shoes, and maybe some goggles for good measure. If fixing it seems risky or too big to handle, calling in a pro might be the safest route.
Sorting your roof leak sooner rather than later and keeping safety in mind will save your house a lotta heartache—and your wallet too. Jumping on these problems early will help keep your home in top shape for years to come.
Temporary Emergency Fixes

When you've got that pesky roof leak dripping away, it's time to jump into action and stop the chaos before it ruins more of your stuff. In those emergency moments, quick fixes can really help soak up the problem until the big guns can roll in for a permanent repair. Two popular quick-fix hacks for those sneaky roof leaks are slapping on a tarp or going for some temporary patchwork.
Tarping the Roof
Throwing a tarp over your roof is like putting a band-aid on the situation. It keeps the rain from crashing your living room party. So here's your to-do list for making sure your home's not swimming:
You'll Need:
- A trusty waterproof tarp or some heavy plastic
- Roofing nails or some super-duper strong glue
- Hammer or a staple gadget
Steps:
- Safety First: Before you channel your inner superhero, make sure you can reach the roof safely without any surprise slips.
- Lay Down the Tarp: Cover the holey bits of your roof with the tarp, letting it spillover a bit past the damage. Nail it down tight or stick it with adhesive so it doesn't go flying.
- Seal the Deal: Ensure the tarp's edges are snug and won't let a single drop of rain sneak through.
- Keep Watch: Keep an eye on that tarp, especially if the weather's acting up, to make sure it's still snug as a bug.
Tarping is a quick fix that'll get you some breathing space while you dial up the experts for the real deal in roof repair. And remember—stay safe when scaling your roof and working with those tools!
Temporary Patching Techniques
Besides just tossing a tarp up there, patching things up can keep those little leaks from turning into big headaches. These temporary tricks are your holdover until the roofing pros can swoop in. Here's what to do:
You'll Need:
- Roofing cement or some sticky sealant
- A patch or some mesh to stick on the roof
- Putty knife or a small shovel-like tool
Steps:
- Spot the Leak: Find where that water's sneaking in and make sure everything's dry and clean around it.
- Cement the Wound: Spread roofing cement over the problem spot using a putty knife. Seal it good to keep the wet stuff out.
- Patch It Up: While it's still sticky, add a patch or mesh for double protection.
- Smooth Moves: Smooth that patch nice and tight so it doesn’t leak, then let it dry out.
These patch jobs are just stopgaps to fend off further damage till you can call in a professional roofer like True Force Roofing. It's crucial to get the roof checked and fixed properly, or those leaks could come back and party even harder next time.
By getting the hang of these temporary emergency tricks, you can cut off roof leaks at the pass and dodge the bigger issues water damage can cause. Always put safety first when tackling emergency roof fixes—no roof mistake is worth a trip to the ER!
Essential Tools for Emergency Roof Leak Repair
Staring up at a pesky roof leak can stress any homeowner out, so having the right gear handy is a must to tackle those surprise rainy-day mishaps—for real! Let's run through a checklist of tools and safety gear that'll make all the difference when you need to patch things up quick.
Tools Checklist
Before getting into any leak-fixing action, make sure you've gathered these trusty sidekicks:
|
Tools |
Description |
|
Ladder |
How else you gonna get up there safely, right? |
|
Hammer |
Your go-to for hammering down loose bits |
|
Roofing Nails |
Keeps those temporary patches stuck where they belong |
|
Pry Bar |
Handy for kicking out damaged shingles |
|
Utility Knife |
Cuts stuff like a boss, to the size you need |
|
Caulk Gun |
For getting that sealant in all the right spots |
|
Roofing Cement |
Perfect for sealing up any sneaky gaps or cracks |
|
Tarps |
Use these to cover up the damage until you get a fix |
|
Roofing Patch Material |
Quick cover for that leaky mess on the roof |
|
Bucket |
To catch all that drippy water instead of letting it pool |
|
Flashlight |
So you can see what you're doing, even if it's already gloomy outside |
With these in your toolkit, you're all set to tackle any roof leaks head-on and keep your place from turning into a water feature.
Safety Equipment
Ready to dive into roof repairs? Not so fast! Suiting up with the right safety gear is just as crucial. Here’s what to pack:
|
Safety Equipment |
Description |
|
Safety Harness |
Keeps you tethered securely while you're up there |
|
Work Gloves |
Your hands won’t love the sharp edges—keep 'em protected |
|
Eye Protection |
No one wants bits of debris finding their way into your eyes |
|
Hard Hat |
Because who needs a bump on the noggin from falling debris? |
|
Non-Slip Shoes |
Keeps you on your feet even if the roof’s as slick as ice |
|
Dust Mask |
Helps you breathe easy with all that dust and nonsense flying around |
|
First Aid Kit |
Better to have it and not need it than the other way around |
Good safety gear is your invisible support, guarding against slip-ups and accidents. Always keep an eye on staying safe, especially when you're way up high.
Prepping with these tools and safety must-haves means you can tackle those leaks like a pro and keep further trouble at bay.
DIY Roof Leak Repair Steps
Don't let a pesky roof leak get the best of your castle. Get cracking with these DIY fixes to fend off further wreckage until the pros take over.
Step 1: Locate the Leak
First up: snoop around for that pesky leak's headquarters. Check for water stains lurking on ceilings or walls, or if the attic feels like a rainforest camp. Water trails heading down from the ceiling are clear giveaways.
Examine the roof. Are some shingles missing in action, or flashing looking like it's been through a war? Seal spots around vents and chimneys might be waving the white flag. Once you've got the culprit, mark it with chalk or anything that won't become a treasure hunt later.
Step 2: Clearing the Area
Time to clear house up there! Grab a ladder, summon your inner mountain goat, and kick out any junk or standing water with a mop or towels. A tidy battle ground keeps things safer and gives your patch a leg-up on sticking around.
Step 3: Applying the Patch
With the target locked, it's game on with the patch. Smear some roofing cement or sealant over that bad boy. Go big on coverage to ensure it's as tight as a drum. If you need backup, a tarp or a strip of roofing fabric should come in handy. Just follow the box's battle plan for applying and drying—no need to improvise this part.
These steps will keep water from causing mayhem in your living room, letting you sleep easy until you call in the cavalry. But let's face it, these patches won't last forever. Get a roofing contractor to give it a proper fix. If you need a nudge in finding a reputable pro, check out our tip-filled article on finding a reliable roofing contractor.
When to Call a Professional
Dealing with a leaky roof can be a real pain, right? Sometimes, it's just beyond what you can handle with a YouTube tutorial and a toolbelt.
That’s when you need a roofing pro to step in. Spotting when you need this help and picking the right person for the job is the key to getting your home back in shape without too much fuss.
Signs You Need Professional Help
Not every roofing fix is a weekend DIY project. Sometimes, it's smart (and essential) to call in those who know their way around a shingle. Here’s how you know it’s time to bring in the experts:
|
Signs |
Description |
|
Widespread Damage |
If your roof looks like it cried through a big patch, with puddles or droopy ceiling panels, someone with serious skills needs to tackle it. |
|
Structural Issues |
When your roof’s skeletal system starts giving up, with parts like rafters rotting or the deck sagging, you need a pro to stop things collapsing down. |
|
Safety Concerns |
If your roof needs a mountaineer rather than a ladder, save the broken bones and call someone with the gear and know-how to safely do the job. |
|
Persistent Leaks |
After you’ve tried, and retried to plug that leak, it keeps coming back. Time to hand it over to someone who can find that pesky source for good. |
Any of these sound familiar? Don’t wait. Protect your place by getting someone who knows roofing like the back of their hand like True Force Roofing.
Signs You Need Professional Help
Getting the right contractor on board can save you not just money, but peace of mind too. Here’s how to pick one that won’t leave you high and dry:
- Check Credentials: Make sure they’re licensed, insured, and bonded. This means they’re playing by the rules and have got you covered if things go south. True Force Roofing is Licensed, Insured & Bonded
- Seek Recommendations: Hit up friends, family, or even chat up a neighbor who’s had work done. Firsthand experiences are the real golden nuggets when picking your roofer.
- Research Reviews: Hop online and dive into reviews. Sites like Yelp or the Better Business Bureau can be your best friends in finding out who’s legit and who’s not.
- Request a Written Contract: Before any hammer hits the nail, seal the deal with a written contract spelling out the whens, whats, and how much. This makes sure everyone’s on the same page. True Force Roofing creates written contracts.
Picking your contractor with care means you’ll have a professional tackling those leaks and giving your roof the long-lasting fix it deserves.
Pick The Right Roofer The First Time
Winter roof emergencies require a skilled and reliable roofer who understands the urgency and unique challenges of the season. True Force Roofing offers:
Fast, 24/7 response times to address emergencies no matter when they arise.
Specialized winter services for handling cold-weather repairs.
Local expertise and reliable support to keep your home safe and secure all winter long.

